What to Do After Stump Grinding: Complete Yard Restoration Guide
Your step-by-step guide to restoring your yard after stump grinding. From wood chip management to planting grass, everything Austin homeowners need to know.
Jake Mitchell
ISA Certified Arborist & Stump Removal Specialist
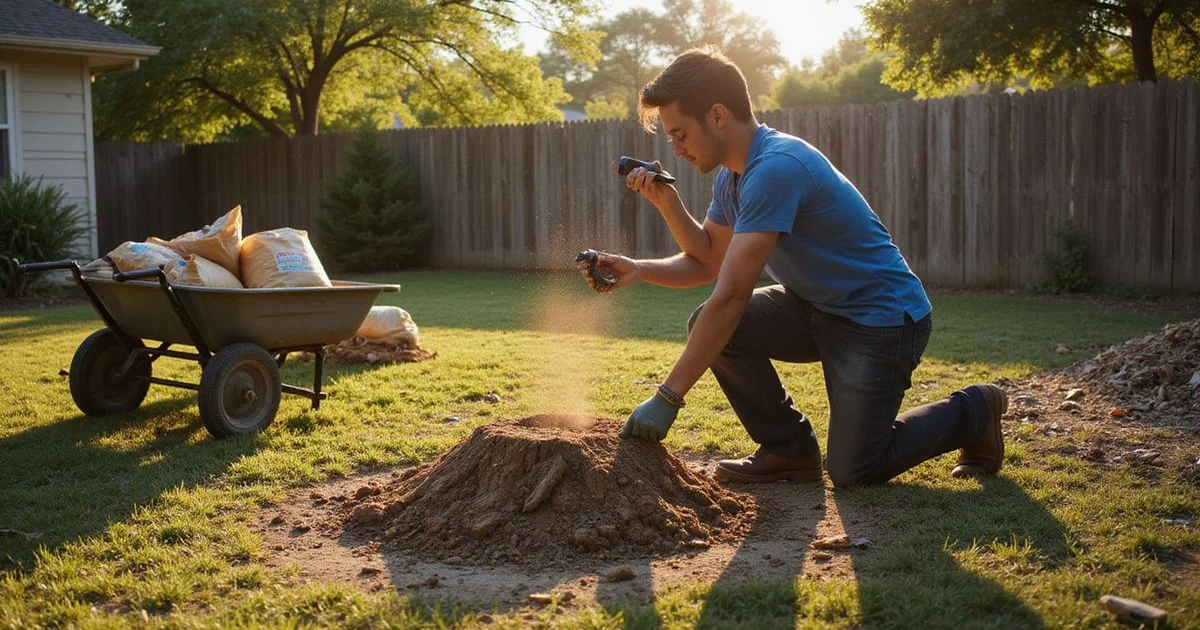
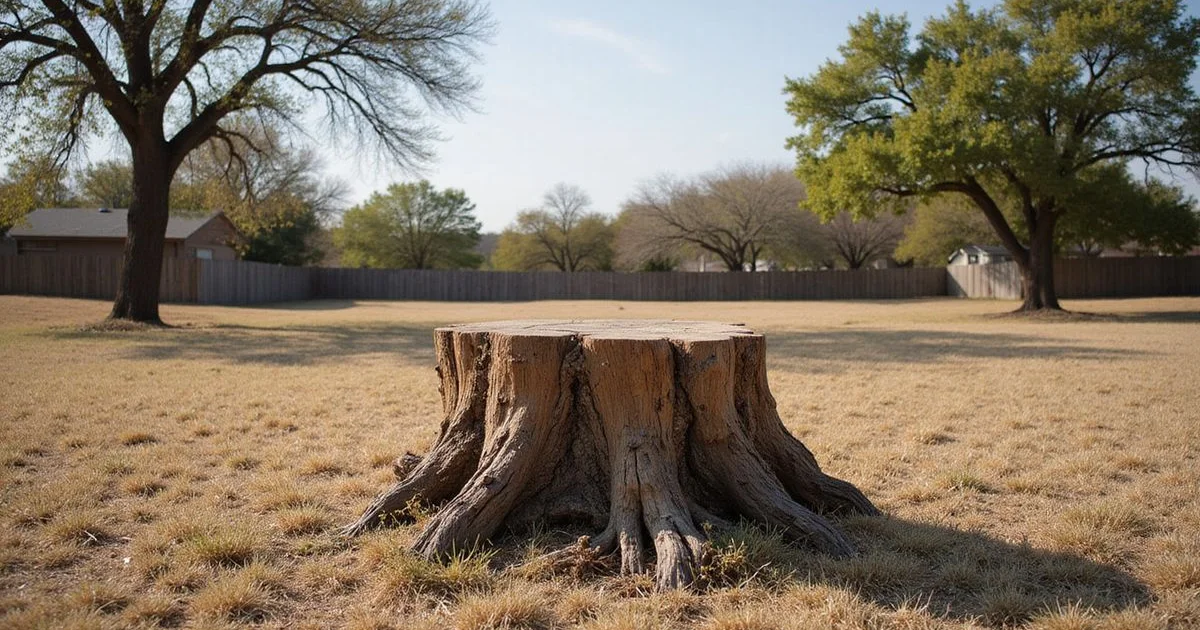
We know that seeing a massive crater filled with wood chips can feel overwhelming after professional stump grinding.
From what our team has seen across Austin properties, that leftover debris is actually the most valuable resource for your yard’s recovery. What to Do After Stump Grinding: Complete Yard Restoration Guide is the exact blueprint for turning that eyesore into a healthy lawn.
Our experts will break down the most effective ways to manage the mulch, prepare the soil, and establish new grass. This process requires a few specific steps to ensure long-term success.
Let’s look at the data on soil health and explore practical ways to respond to this landscaping challenge.
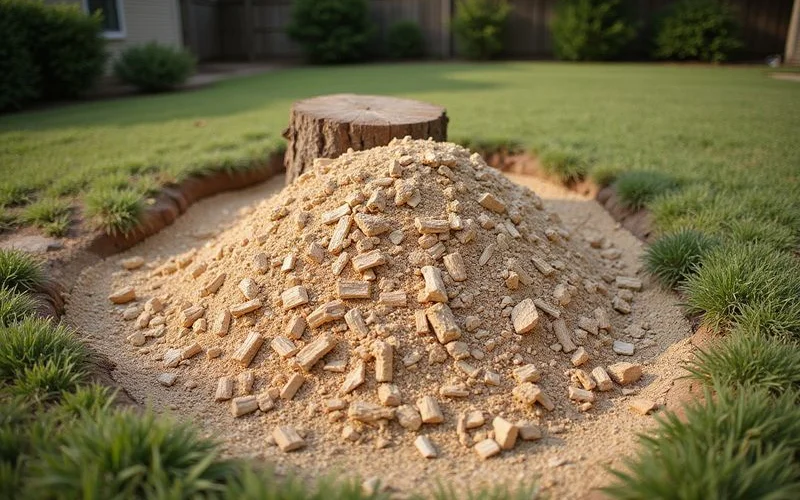
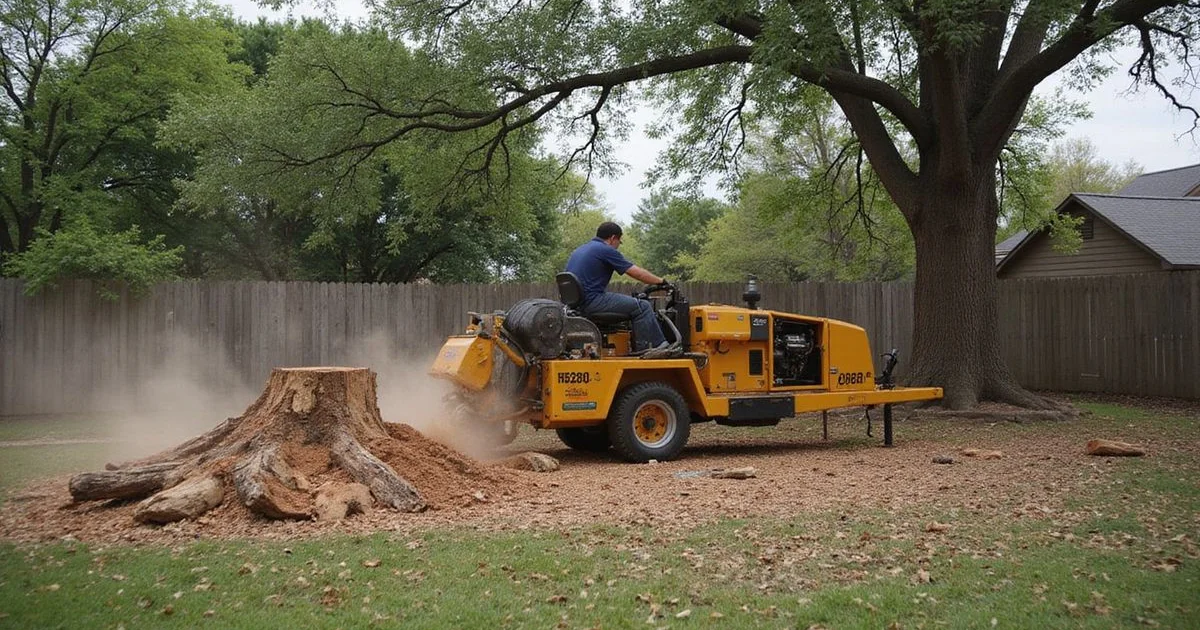
Step 1: Manage the Wood Chips
After grinding, a massive pile of wood chips mixed with soil remains. A medium-sized 24-inch stump ground a foot deep can easily produce over three cubic yards of debris. You have three excellent options for dealing with this mountain of material.
Use Them as Mulch
Wood chips from stump grinding make excellent garden mulch. We highly recommend spreading them two to three inches deep around trees, shrubs, and flower beds.
Using this material as surface mulch provides several immediate benefits:
- Moisture retention: The chips slow down evaporation during Austin’s scorching summer months.
- Weed suppression: A thick layer blocks sunlight and prevents invasive weed seeds from germinating.
- Temperature regulation: Mulch insulates the soil to protect delicate roots from extreme heat.
A crucial detail involves temporary nitrogen depletion. As fresh wood chips decompose, they temporarily pull nitrogen from the surrounding soil. This process can starve nearby plants if mixed directly into the dirt. Keep the material on the surface as mulch, and this is not an issue.
Compost Them
If you have a compost bin, wood chips act as a fantastic carbon source. Our landscape professionals note that fresh arborist wood chips have a very high carbon-to-nitrogen ratio of around 300:1. You must mix them with nitrogen-rich green material like grass clippings and kitchen scraps to reach the ideal 30:1 composting ratio.
Chips from hardwoods like Live Oak take longer to break down than softwood chips. Expect 12 to 18 months for full decomposition.
Haul Them Away
If you do not need mulch and avoid composting, bagging the chips for green waste pickup is a simple solution. We suggest hauling large volumes to the Austin Water Hornsby Bend Biosolids Management Plant.
Recent 2026 facility rules limit drop-offs to trailers that are six cubic yards and under. Many stump grinding companies offer chip removal as part of their service for an additional fee.
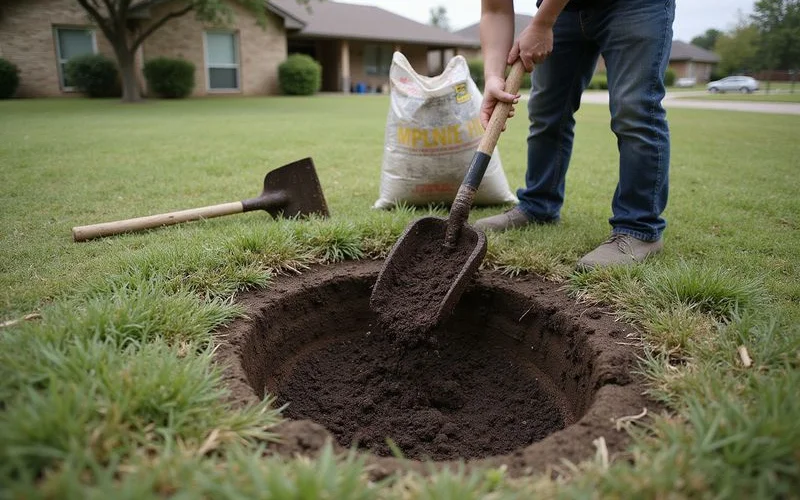
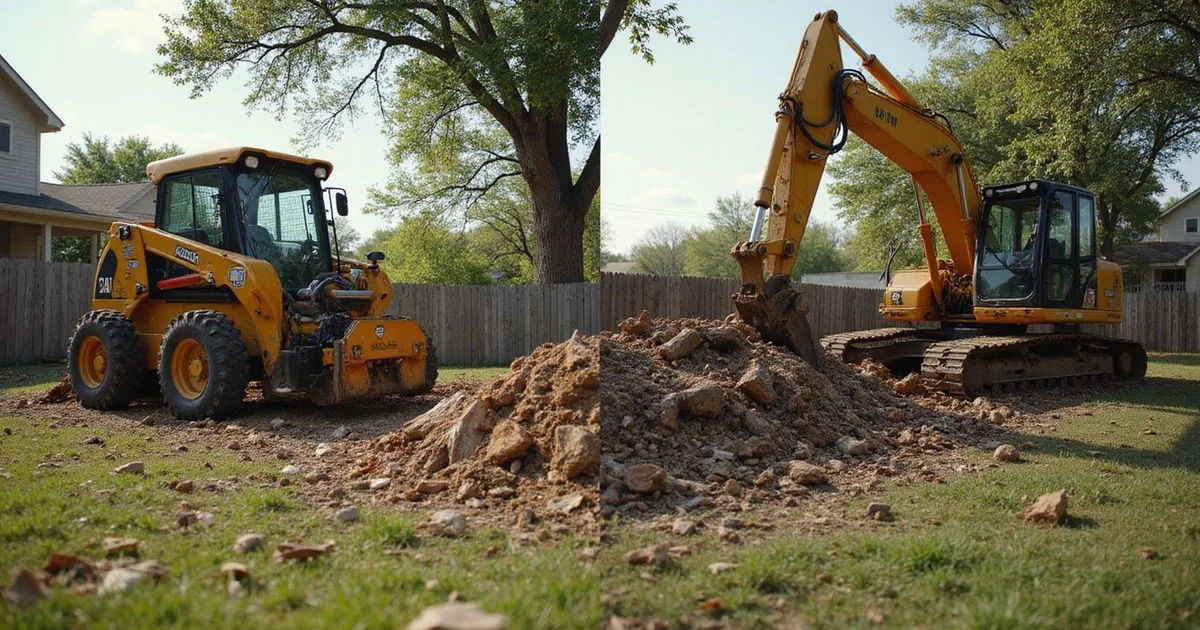
Step 2: Clear and Fill the Hole
Once the excess chips are managed, the cavity requires preparation for restoration. We advise removing as much wood debris from the grinding hole as possible to prevent future issues.
Remove Excess Chips from the Hole
Rake out as many wood chips as possible from the grinding cavity. You want to get down to a mix of mostly soil with minimal wood content.
Leaving too many chips in the hole creates significant problems over time. As the buried wood decomposes, the ground will settle unevenly and leave a visible depression in your lawn.
Select the Right Fill Material
For Austin yards, the best fill material is a blended mixture. Our top recommendation is a 75/25 mix of quality loam topsoil and finished compost. This exact ratio provides the nutrients and structure that new grass needs to establish a deep root system.
Avoid using these inferior fill options:
- Pure compost: This material can shrink by up to 50 percent as it fully breaks down, leaving a deep sinkhole.
- Pure fill dirt: Basic dirt lacks the organic matter and nutrient content that young grass roots require to survive.
You can purchase excellent topsoil and compost blends from local suppliers like Kinser Ranch or Whittlesey Landscape Supplies. Current 2026 pricing for a quality garden mix in the Austin area runs about $60 to $65 per cubic yard. For a typical medium stump, expect to need about one to two cubic yards of fill material.
Fill in Layers
Do not dump all the fill in at once. We recommend adding it in four to six-inch layers, tamping each layer down firmly with a hand tamper or your feet.
This technique prevents excessive settling later on. Fill the hole to about one inch above the surrounding grade. The material will naturally settle slightly over the first few weeks. For larger projects, professional cleanup and regrading ensures a perfectly level surface.
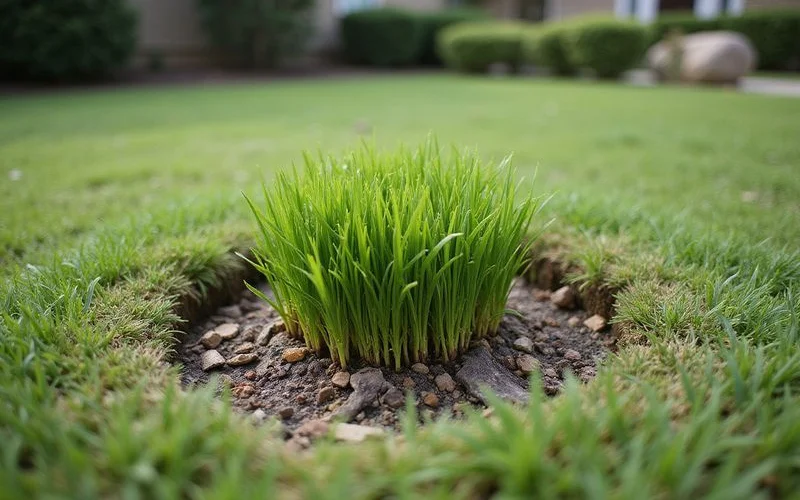
Step 3: Plant Grass
Now that the hole is filled and graded, establishing new turf is the next priority. Your approach depends entirely on what type of grass you currently have and the time of year.
Grass Seed vs Sod in Austin
Selecting the right turf determines how quickly your lawn recovers. Consider these three popular options for local yards:
- Bermuda grass seed: This is the most common and affordable option for Austin lawns. It germinates in 7 to 14 days when soil temperatures consistently stay above 65 degrees Fahrenheit. Spread seed evenly over the filled area, rake it lightly into the soil, and keep it consistently moist.
- St. Augustine sod: St. Augustine does not grow reliably from seed, making sod the standard installation method. Sod provides instant coverage and is ideal if you want the area to look finished immediately. It is more expensive than seed but establishes faster and resists washout from heavy rain.
- Zoysia grass: This turf continues growing in popularity across Texas because it handles shade better than Bermuda and offers excellent drought tolerance. Zoysia establishes more slowly, but plugs or sod work exceptionally well for old stump sites.
Best Planting Times for Austin
To maximize your success rate, follow these seasonal guidelines for turf establishment. We created this quick reference table to help you plan your planting schedule.
| Grass Type | Planting Method | Ideal Austin Planting Window |
|---|---|---|
| Bermuda | Seed | April through August (requires warm soil) |
| St. Augustine | Sod | March through October (avoid deep winter) |
| Zoysia | Sod or Plugs | April through September |
| Winter Ryegrass | Seed (Temporary) | October through November |
If your stump was ground during winter, waiting for the spring planting season is a smart choice. Our guide on the best time for stump grinding in Austin covers seasonal timing in detail. Just make sure the filled area is graded level. Add a thin layer of straw mulch to prevent erosion in the meantime.
Step 4: Water and Maintain
New grass needs consistent moisture to establish a strong root system, whether you choose seed or sod. For the first two weeks, water the area lightly twice per day to keep the soil surface moist. After germination or sod rooting occurs, gradually transition to deeper, less frequent watering sessions.
In Austin’s intense summer heat, daily watering is often necessary for the first month of growth. We advise checking the current Austin Water irrigation schedule rules before running your sprinklers. Under typical 2026 conservation stages, automatic irrigation systems are strictly limited to one day per week.
You can legally bypass this restriction while your grass establishes by applying for a temporary watering variance. Austin Water offers specific variance approvals for new landscapes that require a temporary, frequent watering schedule. Secure this approval before increasing your watering frequency to avoid potential fines.
Maintenance Pro-Tip: Avoid mowing the restored area until the new grass blades are at least three inches tall. When you finally mow for the first time, set the mower deck height high and only remove the top third of the blade.
What About the Remaining Roots?
After stump grinding, the roots left underground will decompose naturally over the next two to ten years. The exact timeline depends heavily on the tree species and your local soil conditions.
Live Oak roots buried in Austin’s dense clay soil can take up to a decade to fully decay. If underground roots pose a risk to structures, consider professional tree root removal to eliminate them entirely. Softer species like Cedar Elm decompose much faster and disappear within a few years.
During this underground decomposition process, you may notice a few changes in your yard. We often see homeowners worry about these natural occurrences, but they are completely normal.
- Minor settling: As roots decay, the soil above them may sink slightly. Top-dress with additional soil as needed.
- Mushrooms: Fungi that break down dead wood frequently produce mushrooms near the old stump site. Common beneficial fungi like Armillaria speed up the decomposition process. Most are harmless, but always keep pets and children away from unknown yard mushrooms.
- Soft spots: Some areas of the lawn above decaying roots may feel spongy underfoot. This happens because soil density drops as solid wood turns into loose humus. These spots typically firm up naturally as decomposition finishes.
None of these minor issues are cause for concern. They resolve on their own over time and prove that the organic matter is breaking down.
What to Do After Stump Grinding: Complete Yard Restoration Guide and Timeline
Understanding the recovery schedule helps set realistic expectations for your landscaping project. We developed this realistic timeline to show exactly what to expect after stump grinding in Austin.
| Timeframe | Expected Progress & Required Actions |
|---|---|
| Week 1 | Fill the hole, grade the surface, and plant seed or lay sod. |
| Weeks 2-3 | Grass seed germinates, or new sod roots begin to establish. |
| Weeks 4-6 | New grass fills in and starts blending with the surrounding lawn. |
| Months 3-6 | The restored area becomes nearly indistinguishable from the rest of the yard. |
| Years 1-2 | Minor soil settling may occur over old roots, requiring occasional top-dressing. |
Want professional help with the entire process from the initial grinding through the final restoration? Contact our team for a complete stump grinding and yard restoration package customized for Austin properties.
Conclusion
Taking the right steps after stump removal completely transforms your outdoor space.
We know that tackling this project requires a bit of sweat equity. The results are always worth the effort when you see that fresh green grass fill in the gap.
What to Do After Stump Grinding: Complete Yard Restoration Guide provides the exact steps needed to protect your lawn’s health. You can successfully reclaim your yard by following these best practices.
Jake Mitchell
ISA Certified Arborist & Stump Removal Specialist
Jake Mitchell is an ISA Certified Arborist with 12 years of experience in Central Texas tree services. He specializes in stump grinding, root system management, and yard restoration for Austin-area homeowners.
Ready to Remove That Stump?
Get a free, no-obligation quote from a vetted Austin stump grinding professional today.